How To Make A Dog Bed With Bolster Sides – Complete Guide
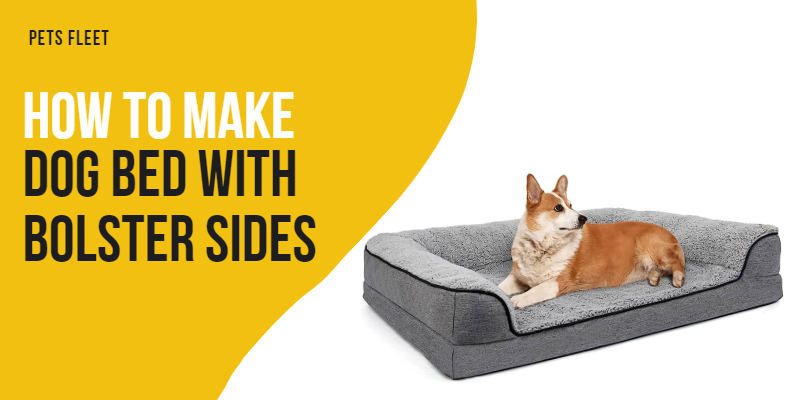
Are you ready to create the coziest and most comfortable sleeping space for your furry friend? Look no further than learning how to make a dog bed with bolster sides! This DIY project combines functionality and style to provide your dog with a plush and secure resting spot.
Measure and cut fabric for the bed and bolster sides. Sew the pieces together, leaving an opening. Stuff the bed with filling and the bolster sides with stuffing or foam. Sew the opening closed and attach the bolster to the bed.
Say goodbye to ordinary dog beds and say hello to a personalized haven that your pup will adore. So, grab your materials and let’s dive into the step-by-step process of creating a dog bed with bolster sides that will have tails wagging in excitement!
What Materials Are Needed?
To make a dog bed with bolster sides, you’ll need a few materials to bring your project to life. Here are the key items you’ll need:
- Fabric
- Foam or stuffing
- Bolster material
- Sewing machine and thread
- Scissors and measuring tools
- Velcro or zipper (optional)
By gathering these materials, you’ll have everything you need to begin creating a comfortable and stylish dog bed with bolster sides for your furry friend.
How To Make A Dog Bed With Bolster Sides – Step by Step Instructions
Creating a cozy dog bed with bolster sides for your furry friend is a fun and rewarding project. Follow these step-by-step instructions to make your own:
1- Gather your materials
To start making a dog bed with bolster sides, you’ll need some essential materials.
2- Measure and cut the fabric
Determine the desired size of the bed based on your dog’s dimensions and cut the main fabric accordingly. Remember to add extra length for the bolster sides. Measure and cut the bolster material to the desired length as well.
3- Sew the bolster sides
Take the bolster material and fold it in half lengthwise. Sew along the long edge to create a tube. Turn the tube right side out and stuff it with foam or polyester fiberfill for added support. Secure the ends of the bolster by sewing them together.
4- Attach the bolster to the main fabric
Place the main fabric with the right side facing up. Position the bolster tube along the edges of the fabric, aligning them properly. Pin the bolster in place. Sew around the edges, leaving a small opening to insert the foam or stuffing for the bed.
5- Stuff the bed
Fill the bed with foam or stuffing, ensuring it is evenly distributed for maximum comfort. Adjust the amount of filling to achieve the desired level of cushioning. Make sure to stuff the bolster sides firmly to provide support.
6- Sew the opening closed
Carefully sew the opening shut using a straight stitch or a slip stitch, ensuring the stitches are secure and hidden.
7- Optional
Add closures for a removable cover: If you want a removable cover for easy washing, you can attach velcro or a zipper closure to one side of the fabric. This allows you to easily remove and wash the cover whenever necessary.
8- Give it a final touch
Trim any loose threads and fluff the bed to make it extra inviting for your furry companion. You can also personalize the bed by adding your dog’s name or decorative elements if desired.
By following these detailed steps, you’ll be able to create a personalized and comfortable dog bed with bolster sides that your pup will adore. Enjoy the process of crafting a cozy space for your furry friend to relax and unwind in style!
Tips and Tricks for Sewing the Bolster Sides
When it comes to sewing the bolster sides of your dog bed, there are a few tips and tricks that can make the process go more smoothly.
- Make sure you have a strong and durable thread that will hold up against your pup’s playful antics. Using a heavyweight or upholstery thread is recommended.
- Use pins or clips to secure the fabric in place before sewing. This will help prevent any shifting or puckering during the sewing process.
- It’s also important to sew slowly and carefully around the corners of the bolster sides, ensuring that you maintain an even stitch length.
- If you’re working with a thicker fabric for your bolster sides, such as fleece or canvas, consider using a walking foot attachment on your sewing machine. This attachment helps feed multiple layers of fabric evenly through the machine, preventing any stretching or distortion.
- To give your dog bed a professional finish, consider adding piping along the edges of the bolster sides. Piping not only adds aesthetic appeal but also provides additional strength and durability.
So there you have it – some helpful tips and tricks for sewing the bolster sides of your DIY dog bed! Happy stitching!
Tips for Choosing the Right Fabric
When it comes to choosing the right fabric for your dog bed with bolster sides, there are a few things to consider.
- Fabric must be durable and able to withstand the wear and tear of daily use. Look for fabrics that are labeled as being tough or heavy-duty.
- You’ll also want to think about comfort. After all, your furry friend will be spending countless hours lounging in their new bed! Opt for soft, plush fabrics that feel cozy against their fur. Fleece or microfiber materials are great options here.
- Another factor to keep in mind is ease of cleaning. Let’s face it – dogs can get messy! Choose a fabric that is machine washable so you can easily remove any dirt or pet hair that accumulates over time. Removable covers are another great feature to look for.
- Don’t forget about style! While functionality may be your main concern, there’s no harm in selecting a fabric that matches your home decor or reflects your dog’s personality. From fun patterns and prints to solid colors that blend seamlessly into any space, the choice is yours!
By considering factors when choosing the right fabric for your DIY dog bed with bolster sides project, you can create a comfortable retreat that both you and your canine companion will love without compromising on quality or aesthetics.
Finishing Touches
Finishing Touches for your dog bed with bolster sides are:
1- Add Decorative Elements
Personalize the dog bed by adding decorative touches. You can sew on cute patches, appliques, or embroidery to reflect your dog’s personality or your own creative style.
2- Choose A Cozy Cover
Consider adding a removable cover for easy cleaning. Select a soft and durable fabric that is machine washable and matches your home decor. This allows you to keep the bed fresh and clean, even with regular use.
3- Enhance Comfort With Blankets Or Pillows
Place a soft blanket or additional pillows inside the bed for extra comfort. Your furry friend will appreciate the added coziness and may even prefer to snuggle up with their favorite blanket.
4- Consider Non-Slip Features
If you have hardwood or slippery floors, adding a non-slip base to the bottom of the bed can prevent it from sliding around. This ensures your dog’s safety and stability while they relax or sleep.
5- Incorporate Soothing Scents
To create a calming environment, consider adding natural scents that are safe for dogs, such as lavender or chamomile. You can place a sachet or spray a pet-safe essential oil lightly on the bed to provide a soothing aroma.
6- Keep It Clean
Regularly clean and maintain the dog bed to keep it fresh and hygienic. Remove any loose fur or dirt, and wash the removable cover as needed. Follow the care instructions for the specific fabrics used in the bed to ensure longevity.
Remember, the finishing touches are all about enhancing the comfort and style of the dog bed with bolster sides!
Conclusion
You now have the knowledge and skills to create a comfortable and stylish dog bed with bolster sides.
By following the instructions and adding your own personal touches, you can provide your beloved furry friend with a cozy retreat that meets their needs and reflects your unique style. The process of making a dog bed with bolster sides is not only practical but also allows you to unleash your creativity.
So, gather your materials, get crafty, and enjoy the satisfaction of creating a special space where your dog can relax, sleep, and feel loved. Your pup will surely appreciate their new cozy haven, and you’ll have the joy of knowing you made it yourself!
![Difference between Training Collars and Everyday Collars [Complete Guide]](https://petsfleet.com/wp-content/uploads/2023/09/Difference-between-Training-Collars-and-Everyday-Collars-Complete-Guide-768x384.png)